

This week is my kid's school's Teacher Appreciation Week, and I wanted my kids to make a special gift for each of their teachers in honor of it. This need to be a project that would not only be fun for the kids to do, but also not too difficult. So I came up with the idea to make these Decorative DIY Magnetic Clothespins.
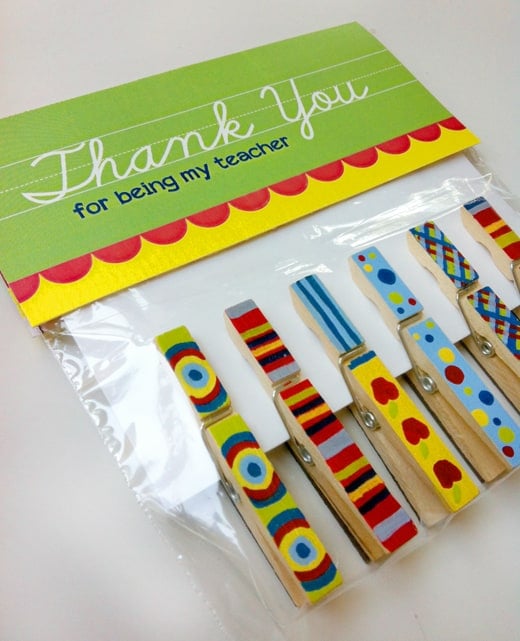
You can make them by simply painting wooden clothespins and then glueing a magnet to the back. I figure their teachers could use them to put up on the white board to hold papers and reminders.
Decorative DIY Magnetic Clothespins Supply List
To make these fun Decorative DIY Magnetic Clothespins, you will need:
- Paint Markers
- Magnetic strips tape with adhesive back
- Wooden clothes pins
- Exacto knife
- Ruler or straight edge
- Sheet of cardstock
- Plastic sandwich baggie (optional)
Now to make these fun Decorative DIY Magnetic Clothespins...
How to Make Decorative DIY Magnetic Clothespins
Step 1 - Purchase your supplies.
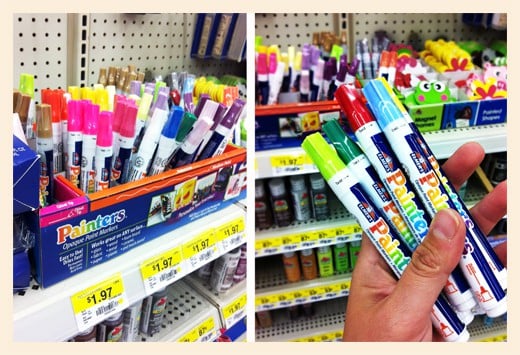
My kids love to paint, but after our Mother's Day project, I found they made huge messes when I let them paint. So for this project, we used Paint Markers. They are actually quite perfect for this project. Not only do you cut down on the mess, they are easy for little hands to use.
I was able to get the paint pens, a 50 pack of wooden clothespins for super cheap and also picked up the magnetic tape strips at Walmart. But you can get these items at any craft store or online. Though, I was very happy that I was able to get all my shopping done in one place.
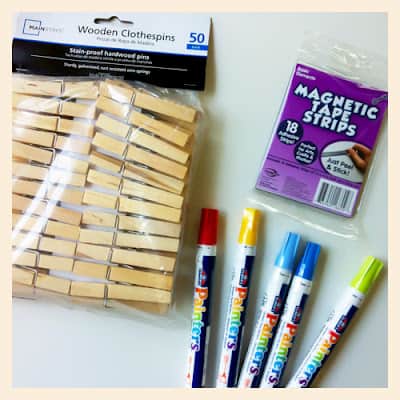
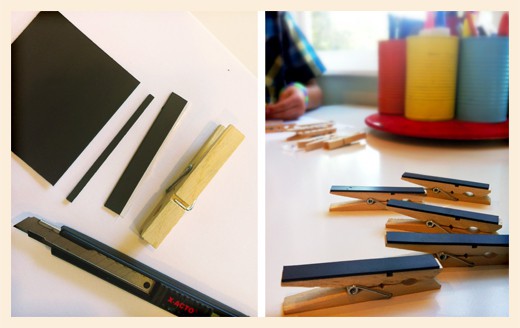
Step 2 - Once you have your supplies, you can get started by cutting the magnetic tape strips. Cut them to fit one side of your clothespin. Cut as many magnetic strips as the amount of clothespins you will be making.
Peel the paper off the adhesive backing of the magnetic tape, and stick it to one side of the clothespin.
Step 3 - With Painters Marker, paint the other side of each of the clothespins. I suggest painting each one a single color to start off with. Let them dry.
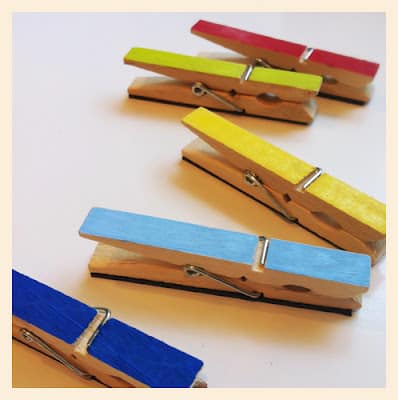
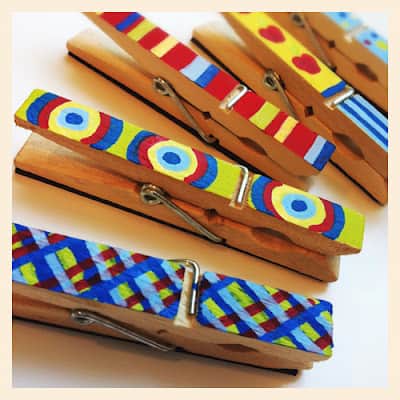
Step 4 - Once dry, use the other colors of Paint Markers to add designs and pictures to the painted side of the clothespins. You may need to wait for the paint to dry between each color that you use.
Once your design is complete, let the painted clothes pins dry completely. Here you see my kids working so intently on their clothespin designs. They look awesome!
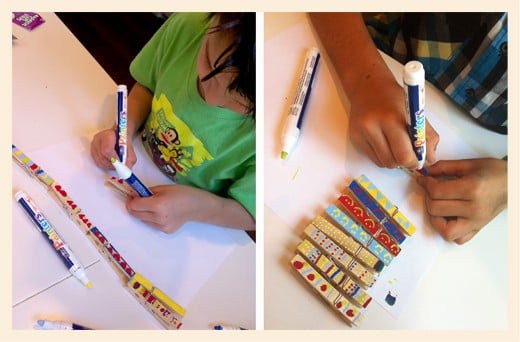
Step 5 - To package your clothespins, it's nice to cut a piece of cardstock to 2-½" x 6" or approximate to fit into baggie. Place each clothespin neatly onto the cardboard. place into a plastic sandwich baggie. you can tie with a ribbon, or print out the bag topper I created and glue or staple it on. here is the link to download it.
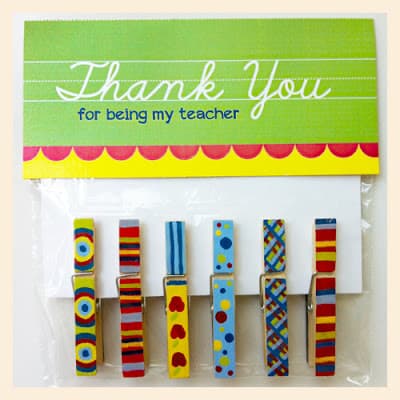
Step 6 - Give your painted clothespin gift to your teacher!
I just love how the set turned out, and can't wait to make more. I can see myself making this gift in all different color combinations and styles to give out for different occasions!
Happy Gifting!
XOXO, Jill and the kids
More School themed Ideas from our blog!
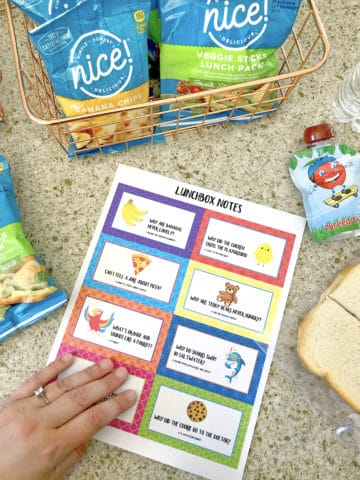
- School Lunch Ideas with Free Printable Lunchbox Notes
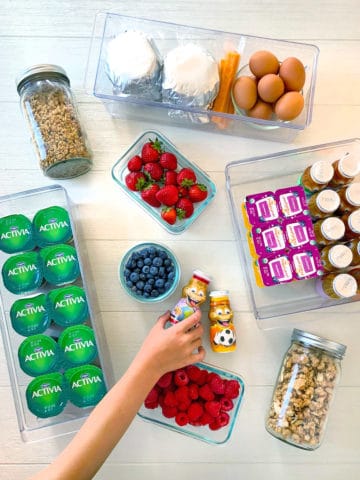
- Fun Ideas on How to Organize Breakfast for Back to School
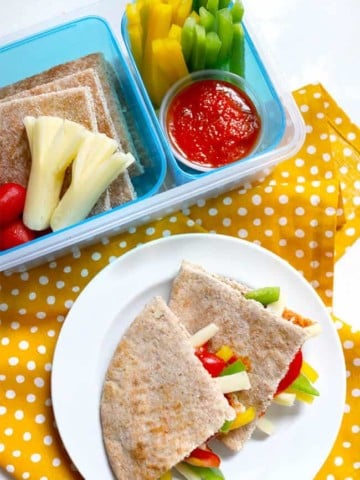
- Homemade Veggie Pizza Pockets "Lunchables" for School Lunches
- Fun Back to School Photoshoot Styling Ideas for Kids
- Help Find the Right School For Your Child: National School Choice Week
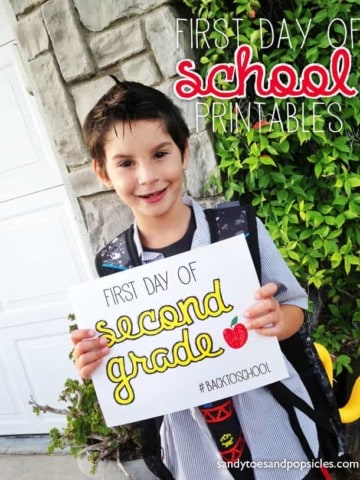
- Free First Day of School Printables
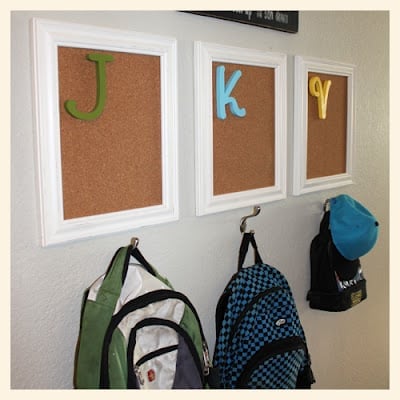
- How to Make a School Backpack Organizer for Your Wall
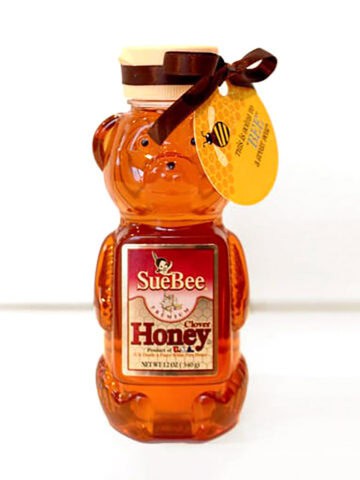
- Teacher Gift Idea: Honey BEE Gift Tag
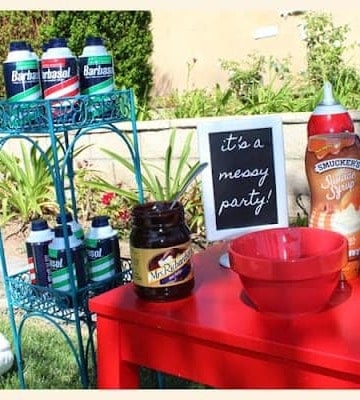
- Back to School Messy Party
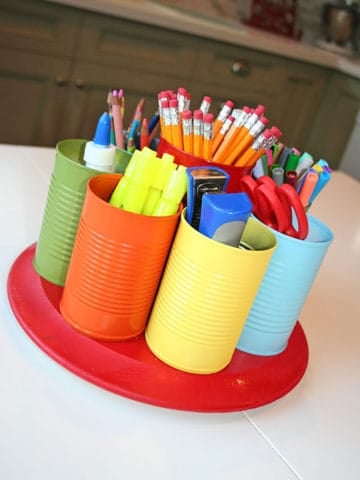
- DIY Homework Supply Caddy Tutorial
- Back to School: Spelling Test Study Hack
- Back to School: Caramel Apple Teacher Gifts




Shelby Barone
This is such a cute craft idea!! I love that you got your children involved!! Such a creative mommy!
Trish - Mom On Timeout
Oh my gosh! These are too cute! Pinning right now!
Minta's Creations
I made these before. I used scrap paper on them..what a imaginative way to spruce up clothes pins.
Minta
Love it.
The Tablescaper
Cute idea. I'd love to have you link it to Seasonal Sundays.
- The Tablescaper
Mallery
So cute! I just might make these for my fridge!
Chrissy Taylor
These are adorable! I love the idea! I am pinning for later too!
Monica Johnson
How sweet! I showed these to my teacher friend... too cute! 🙂
April
Very cute! I am a teacher & want to make these for my sons’ teachers. How strong are these magnets? I'm wondering if I should look for a stronger option?
Sandy Toes and Popsicles
Just the average magnets you find at the craft store.