

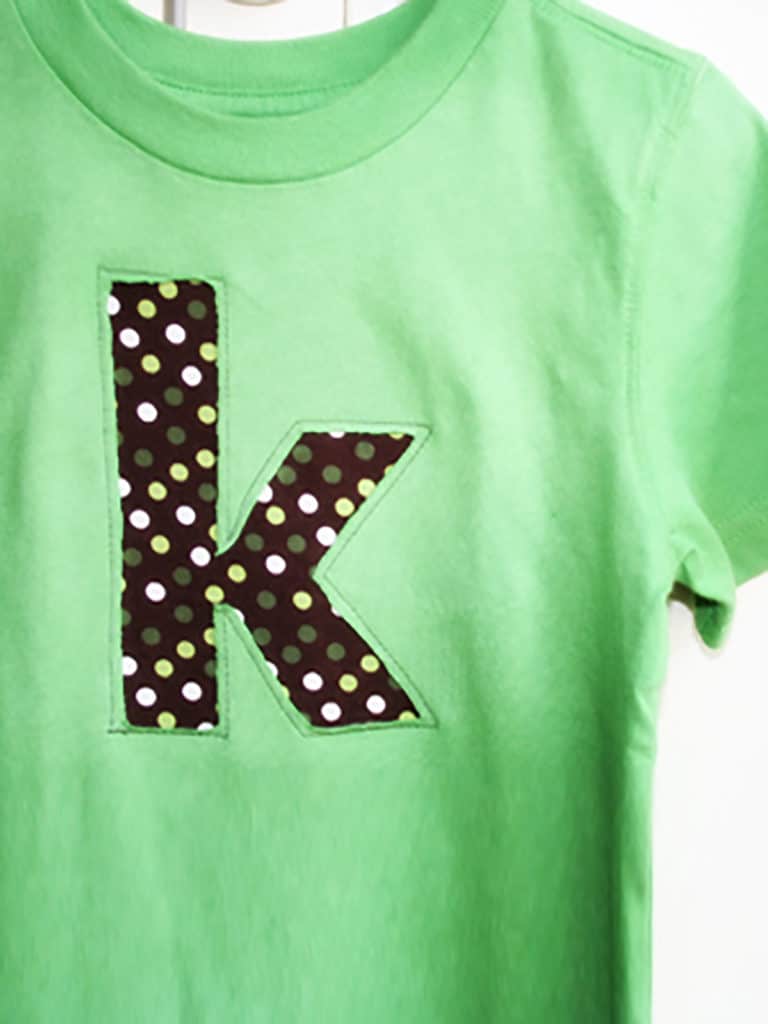
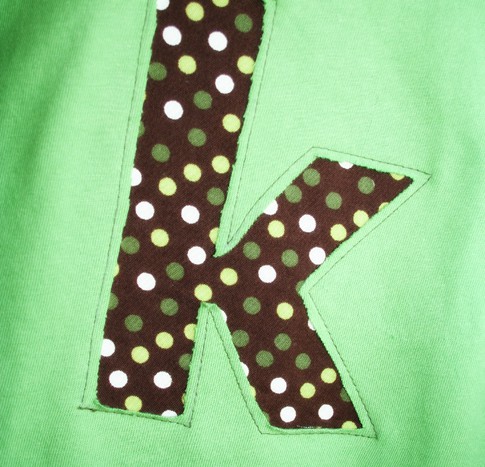
With back to school coming soon, new clothes may be on your list. Here is a tutorial for an easy sewing project for an adorable reverse applique shirt. I've seen these in boutique clothing stores for children, but why not make your own and save a lot of money. I can usually make these shirts for under $5.00.
How to Make a Reverse Letter Applique T-shirt
Supplies that you will need:
- T-shirt
- Print out of letter or other design (or you can freehand a design)
- 8" x 8" of decorative fabric (or enough to fit your design)
- Piece of fusible interfacing (to back decorative fabric)
- Pins
- Sewing machine or needle & thread
- Washable fabric marker, chalk or pencil to mark on shirt
- Sharp scissors
- Embroidery hoop (optional)
Directions
Step 1 - print out design for you shirt on the computer.• make sure it will fit the front of the shirt.
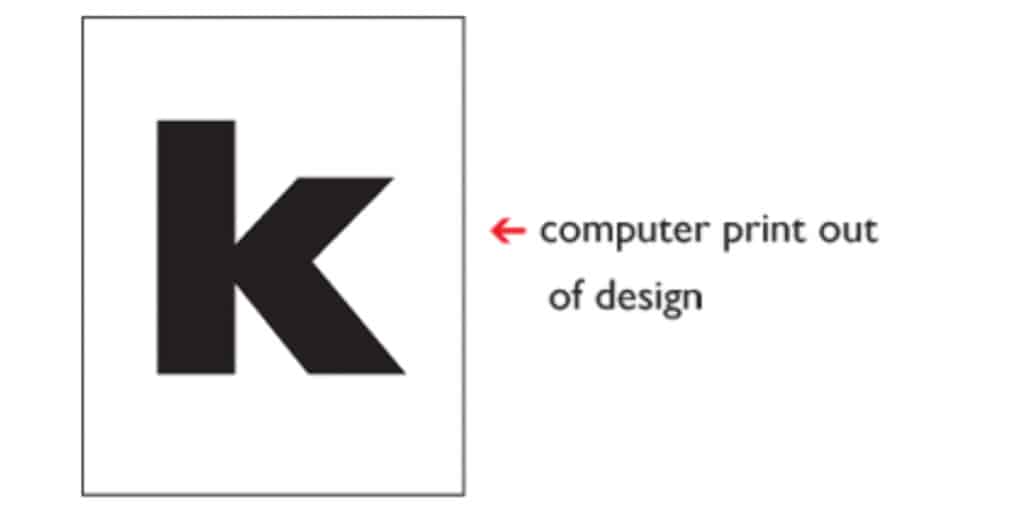
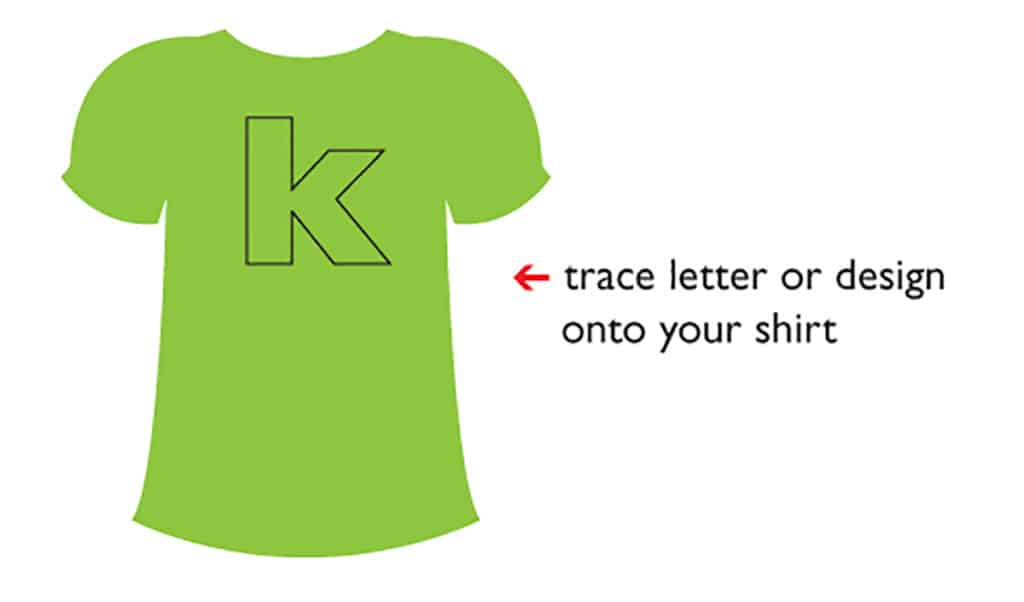
Step 2 - cut out design and trace it onto the center of your shirt (or wherever you want the design) using a washable fabric pen or something that washes out.
Step 3 - Iron on fusible interfacing to the wrong side of your fabric. Click here if you need help with this. Make sure that your fabric is 1" larger than your design on all sides.
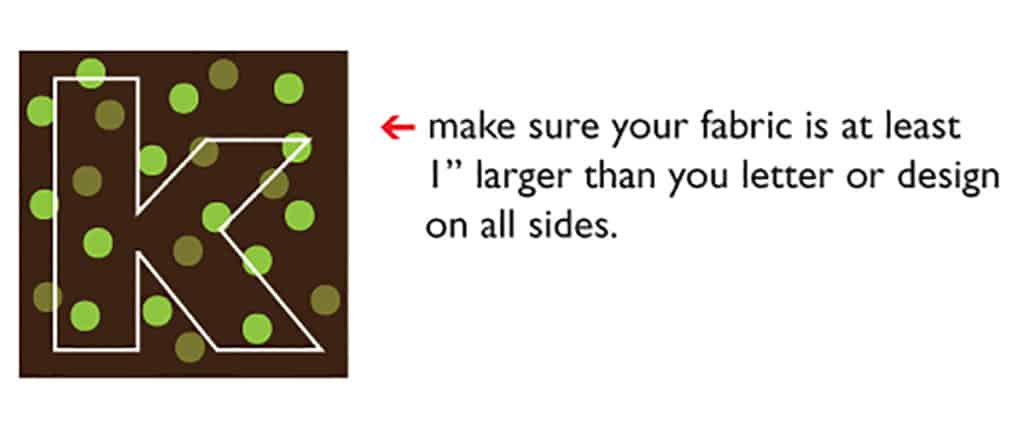
Step 4 - Pin the fabric right side up to the inside of the shirt right under your design. Make sure that the fabric will completely cover the design. If you want, affix a embroidery hoop around the design to make it easier to maneuver on the sewing machine.
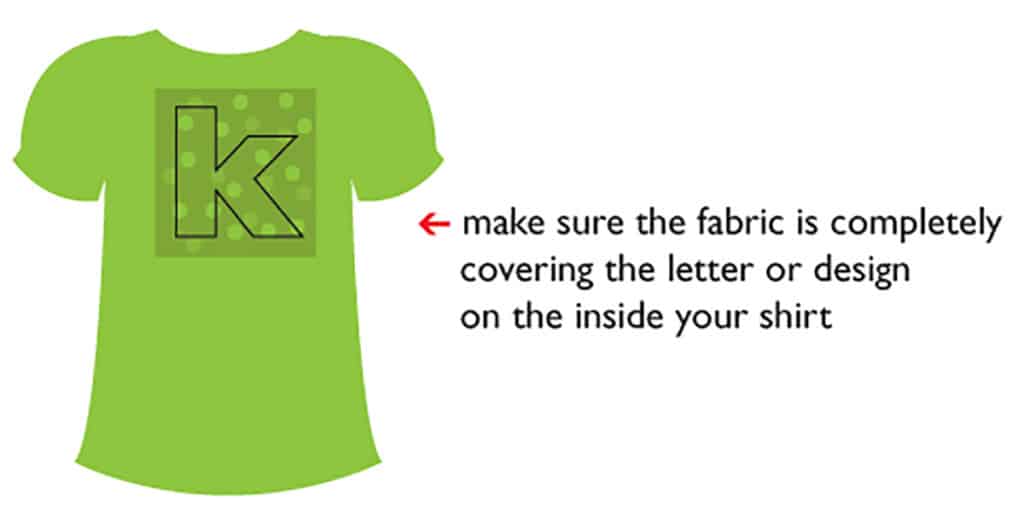
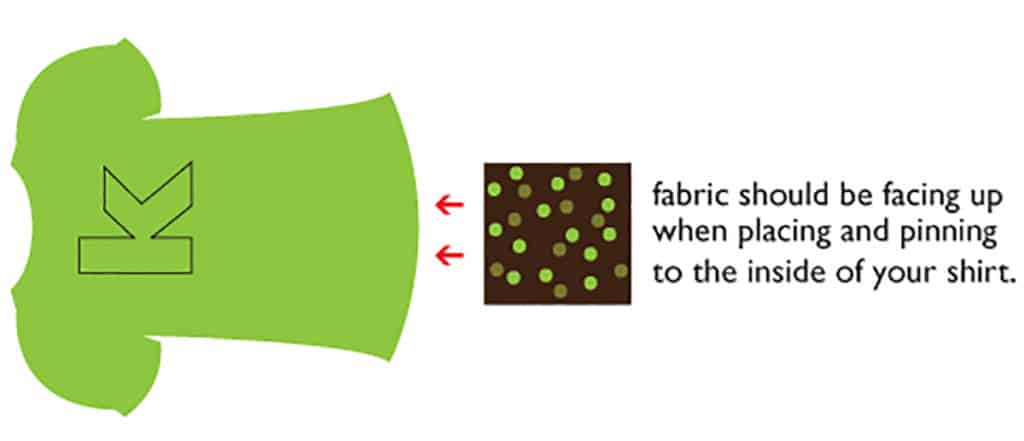
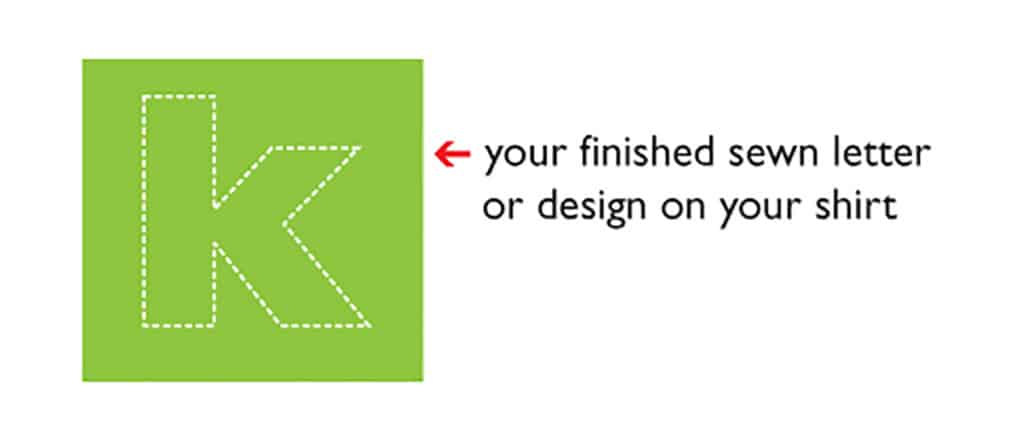
Step 5 - Sew along the design that you traced on the shirt until entire letter/design is sewed.you can use your sewing machine or hand sew it using a back stitch (click here for tutorial). Sew slowly making sure that the fabric doesn't stretch and that you stay on the lines of your design. If you stray, remove your stitches and re-sew.
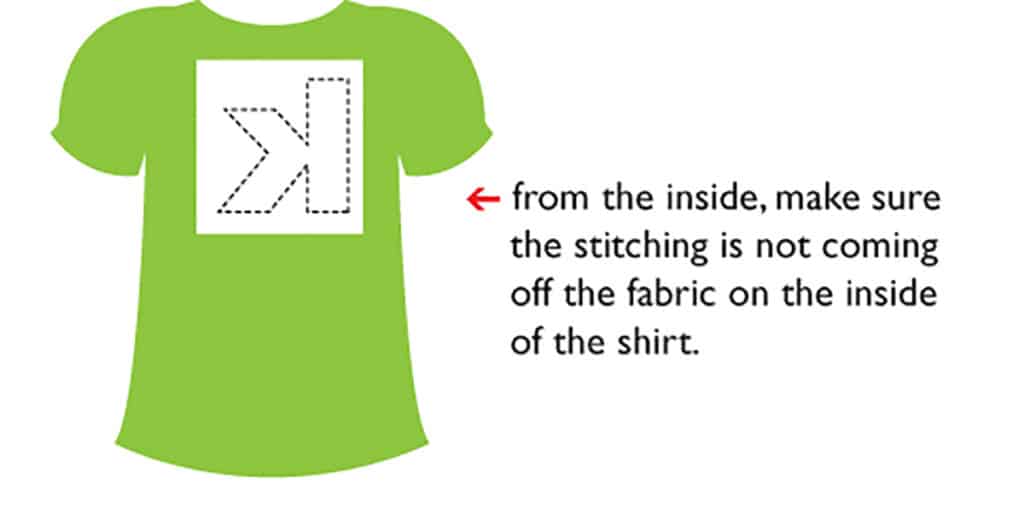
Step 6 - Flip shirt inside out and make sure that fabric is attached to your entire sewn letter/design.
Step 7 - Once you are sure that your design is correctly sewn, flip shirt back to the right side. Take sharp scissors and carefully cut the top layer of fabric (the shirt part, not the attached fabric), cutting away the inside of the letter/design, leaving about ⅛"- 3/16" of fabric next to your sewing.
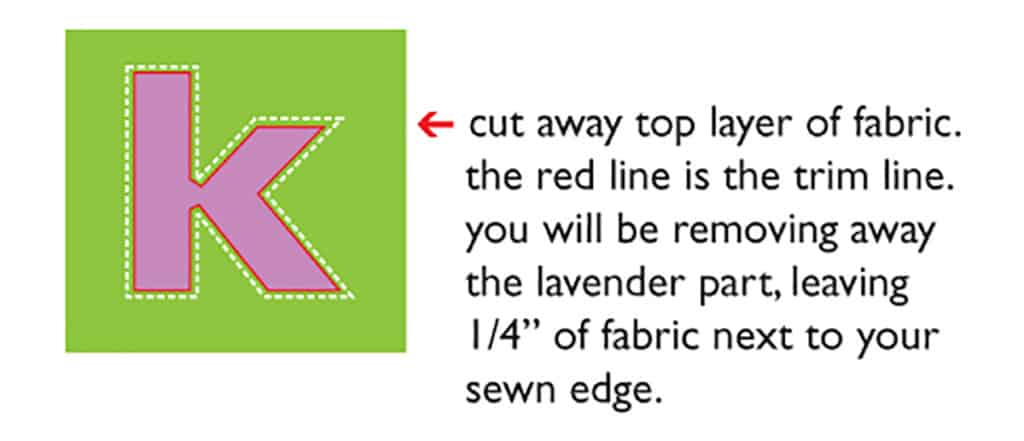
This will reveal the decorative fabric beneath. The shirt will now roll around the edges adding some depth and character.
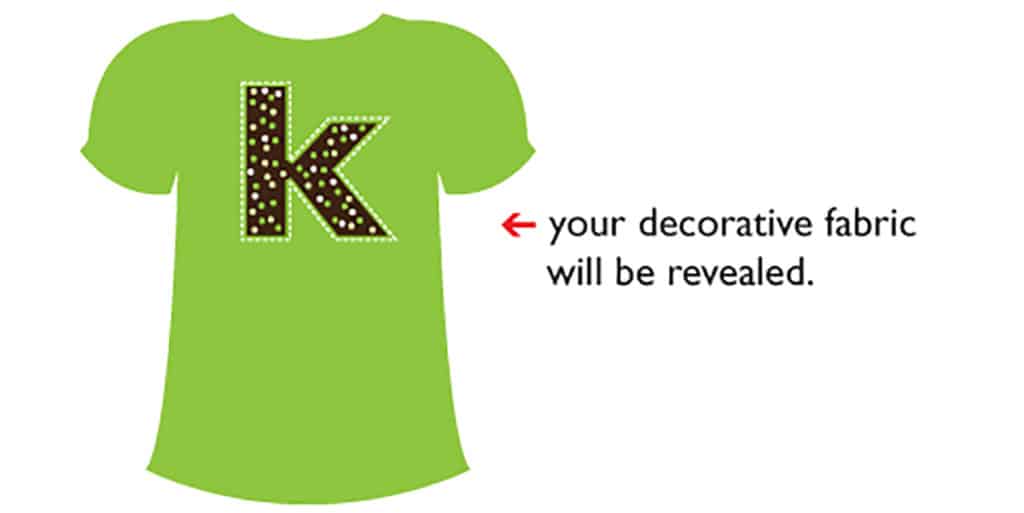
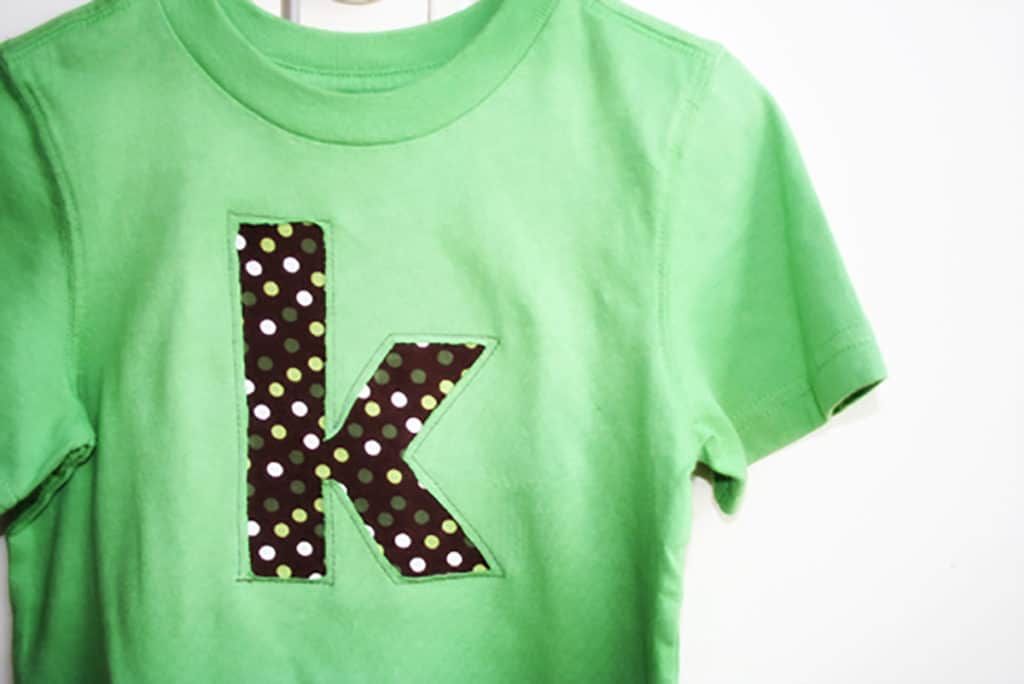
Step 8 - To finish, clean up loose threads, trim excess fabric inside & press. This is what it will look like. You are done. Enjoy your shirt!
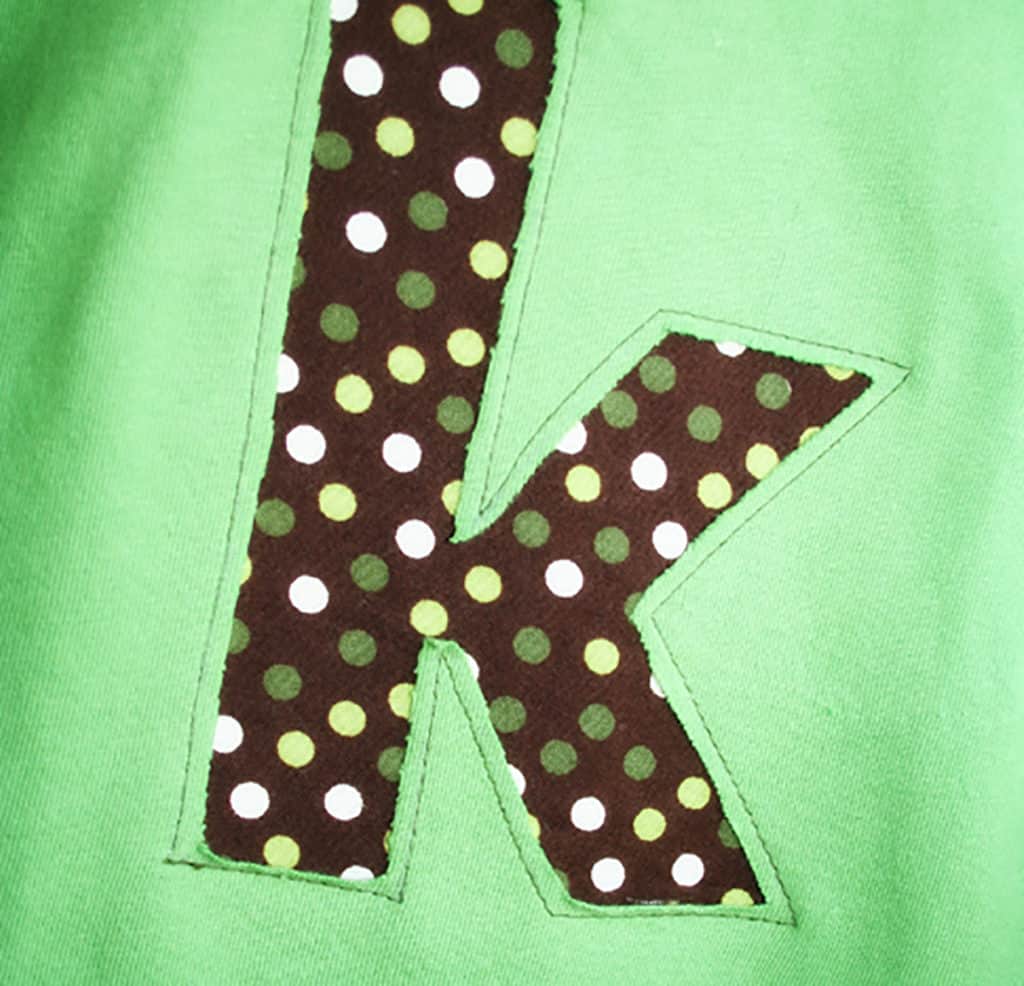
Note: If any of these instructions are unclear, feel free to ask me questions to clarify. also, i have found that it is much easier to machine sew letters with less curves, so when picking your font, take that into consideration. an embroidery hoop can help with that.
Happy sewing,
Jill, jack & kyle

TheKeilShpeel
any recommendations on where to get cheap shirts plain tshirts to do these? They are so cute..
also I saw your inspiration for your 4th of july shirts. I was at the doc's the other day and was looking through the family fun mag and was like.. I recognize these shirts.. they are so cute.
you make me want to get crafty. 🙂
It's me!....Jill
I actually found the 4th of July ones at Walmart! They were like $3.50. I got some nice ones at Target and Old Nave for Under $3.00. I kind of been looking around here and there.
I love doing these shirts, I even made them for my kids when they were little babies and in onesies.
kpmattingly
Thanks for the detailed instructions. I may have to try this. I have done it with letters as an applique but not as a reverse applique. I love the look.
Courtney
Love your tutorial! Thank you so much! I have a question:
Does the fabric that is put under the top layer (then revealed when the shirt is cut) need to be the same material as the shirt? Can I use a quilt cotton, or should it be a knit like the shirt? Thank you so much!
It's me!....Jill
I used a quilt cotton, Which is probably best because it is not stretchy.